この記事では PyTorch の Object Detection モデルを nnoir に変換する例についてご説明します。 例として https://github.com/lufficc/SSD/ の MobileNet V3 を取り上げます。
環境
https://github.com/lufficc/SSD/#installation に従いインストールを行います。 mobilenet_v3_ssd320_voc0712.pth は https://github.com/lufficc/SSD/releases からダウンロード可能です。 また、以下のライブラリを用います。
onnigiri    0.3.0
onnion      0.7.0
onnion-rt   0.4.0
onnx        1.9.0
PyTorch から ONNX へ変換
以下のファイルを SSDの下に置き実行します。
import argparse
import glob
import os
import time

import numpy as np
import onnxruntime
import torch
from PIL import Image

from ssd.config import cfg
from ssd.data.datasets import COCODataset, VOCDataset
from ssd.data.transforms import build_transforms
from ssd.modeling.box_head.inference import PostProcessorOnnx
from ssd.modeling.detector import build_detection_model
from ssd.utils import mkdir
from ssd.utils.checkpoint import CheckPointer

def export_onnx(cfg, ckpt, onnx_dir):
    device = torch.device(cfg.MODEL.DEVICE)
    device = "cpu" if not torch.cuda.is_available() else device

    model = build_detection_model(cfg)
    model = model.to(device)
    checkpointer = CheckPointer(model, save_dir=cfg.OUTPUT_DIR)
    checkpointer.load(ckpt, use_latest=ckpt is None)
    weight_file = ckpt if ckpt else checkpointer.get_checkpoint_file()
    print('Loaded weights from {}'.format(weight_file))

    model.eval()

    mkdir(onnx_dir)
    model_onnx = build_detection_model(cfg)
    model_onnx = model_onnx.to(device)
    checkpointer_onnx = CheckPointer(model_onnx, save_dir=cfg.OUTPUT_DIR)
    checkpointer_onnx.load(ckpt, use_latest=ckpt is None)

    model_onnx.box_head.post_processor = PostProcessorOnnx(cfg)
    model_onnx.eval()

    model_onnx_name = os.path.basename(ckpt).split('.')[0] + ".onnx"
    model_onnx_path = os.path.join(onnx_dir, model_onnx_name)

    print(f'Model exported as onnx to {model_onnx_path}')
    dummy_input = torch.zeros(
        [1, 3, cfg.INPUT.IMAGE_SIZE, cfg.INPUT.IMAGE_SIZE]).to(device)
    torch.onnx.export(model_onnx,
                        dummy_input,
                        model_onnx_path,
                        export_params=True,
                        do_constant_folding=True,
                        opset_version=13,
                        input_names=['input'],
                        output_names=['boxes', 'scores', 'labels'],
                        verbose=False)

def main():
    parser = argparse.ArgumentParser(
        description="SSD pytorch to onnx conversion")
    parser.add_argument(
        "--config-file",
        default="",
        metavar="FILE",
        help="path to config file",
        type=str,
    )
    parser.add_argument("--ckpt", type=str, default=None,
                        help="Trained weights.")
    parser.add_argument("--onnx_dir", default='models',
                        type=str, help='Specify a image dir to save exported onnx model.')

    parser.add_argument(
        "opts",
        help="Modify config options using the command-line",
        default=None,
        nargs=argparse.REMAINDER,
    )
    args = parser.parse_args()
    print(args)

    cfg.merge_from_file(args.config_file)
    cfg.merge_from_list(args.opts)
    cfg.freeze()

    print("Loaded configuration file {}".format(args.config_file))
    with open(args.config_file, "r") as cf:
        config_str = "\n" + cf.read()
        print(config_str)
    print("Running with config:\n{}".format(cfg))

    export_onnx(cfg=cfg,
                ckpt=args.ckpt,
                onnx_dir=args.onnx_dir)

if __name__ == '__main__':
    main()
python pytorch2onnx.py --ckpt models/mobilenet_v3_ssd320_voc0712.pth \
--config-file configs/mobilenet_v3_ssd320_voc0712.yaml
ONNX から nnoir へ変換
ONNX から nnoir への変換には nnoir-onnx を用います。nnoir-onnx で変換可能なオペレータは Supported ONNX Operators に記載があります。
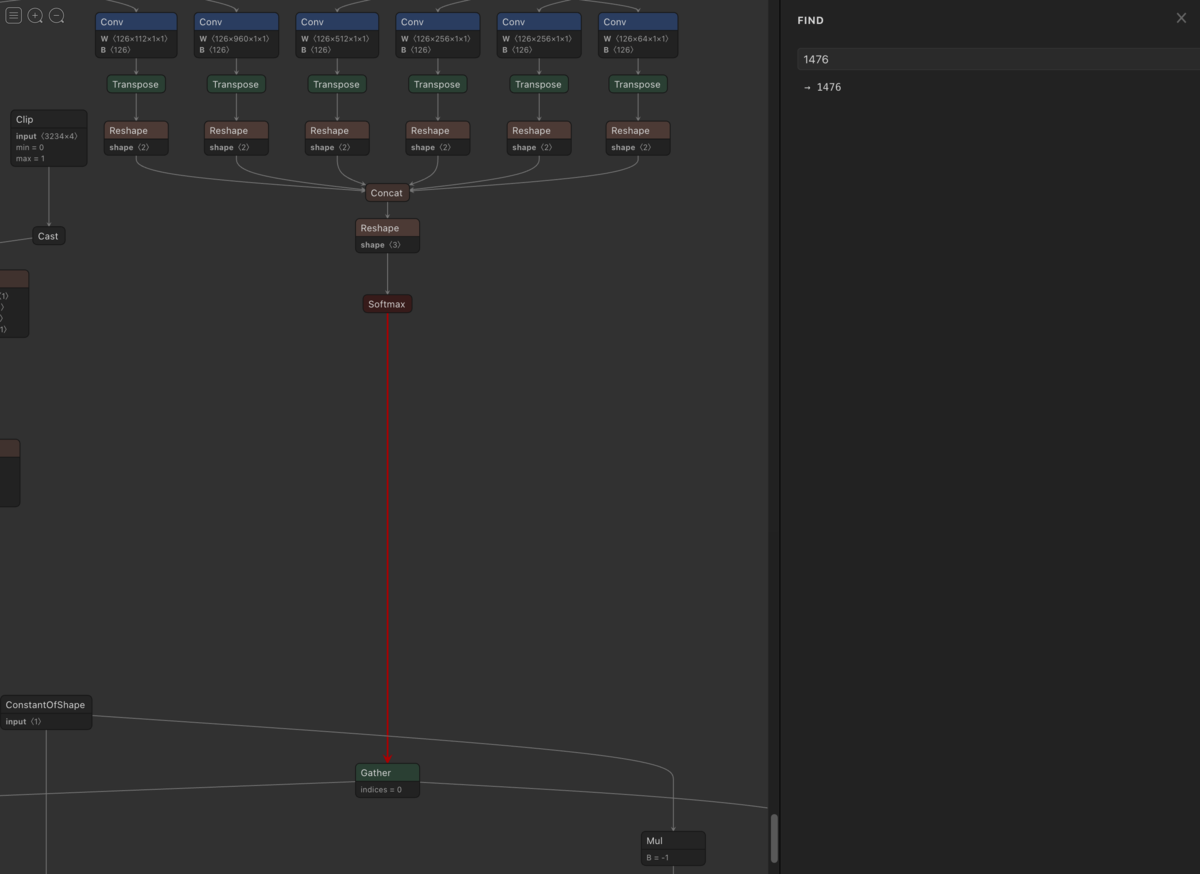
mobilenet_v3_ssd320_voc0712.onnx に含まれるオペレータは Netron を用い確認可能です。
1468、 1476までは nnoir-onnx の非対応オペレータが含まれないことが分かります。
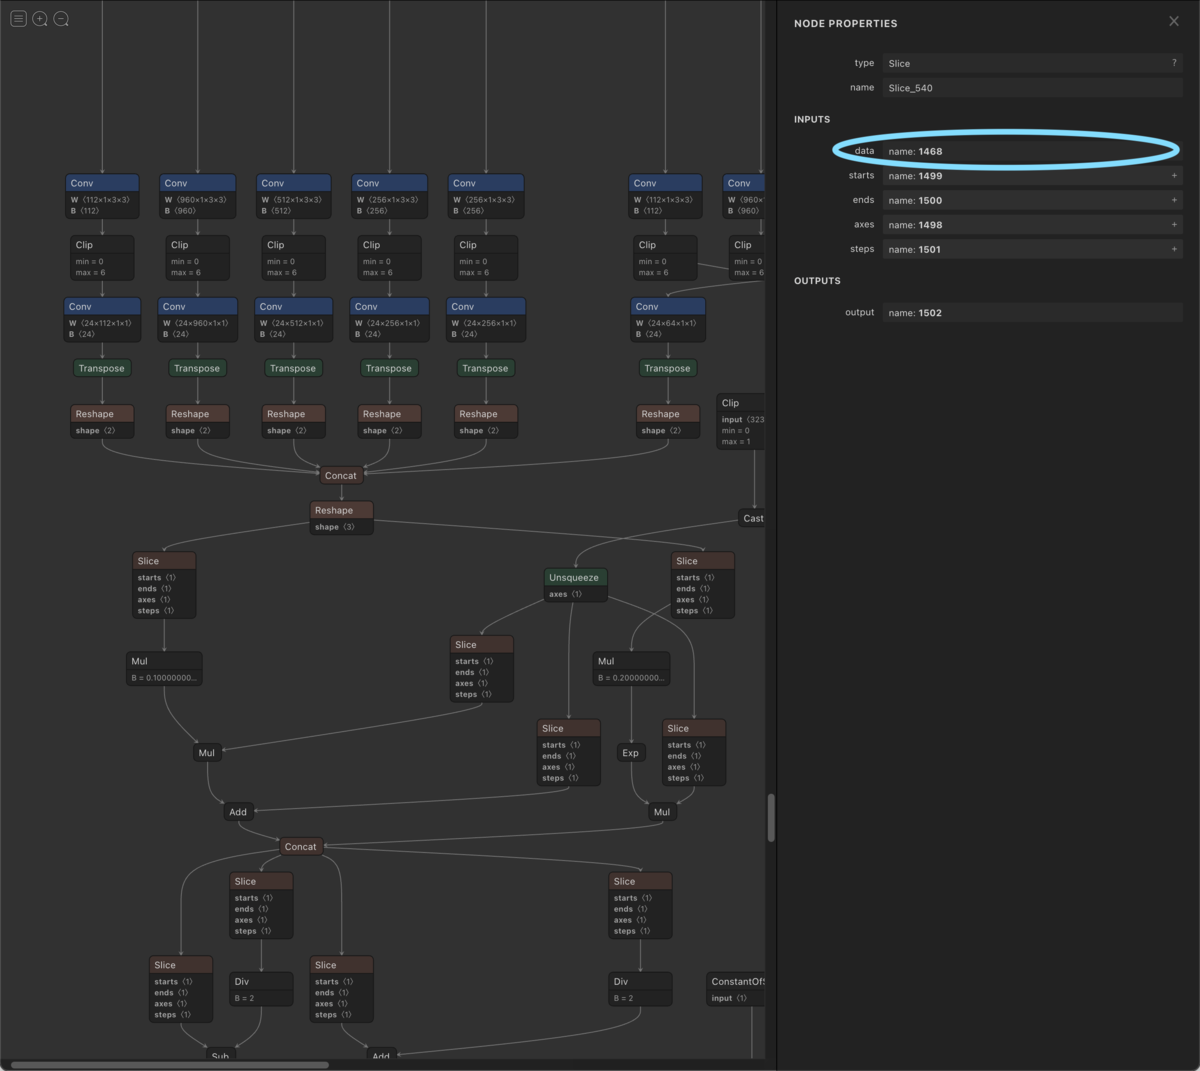

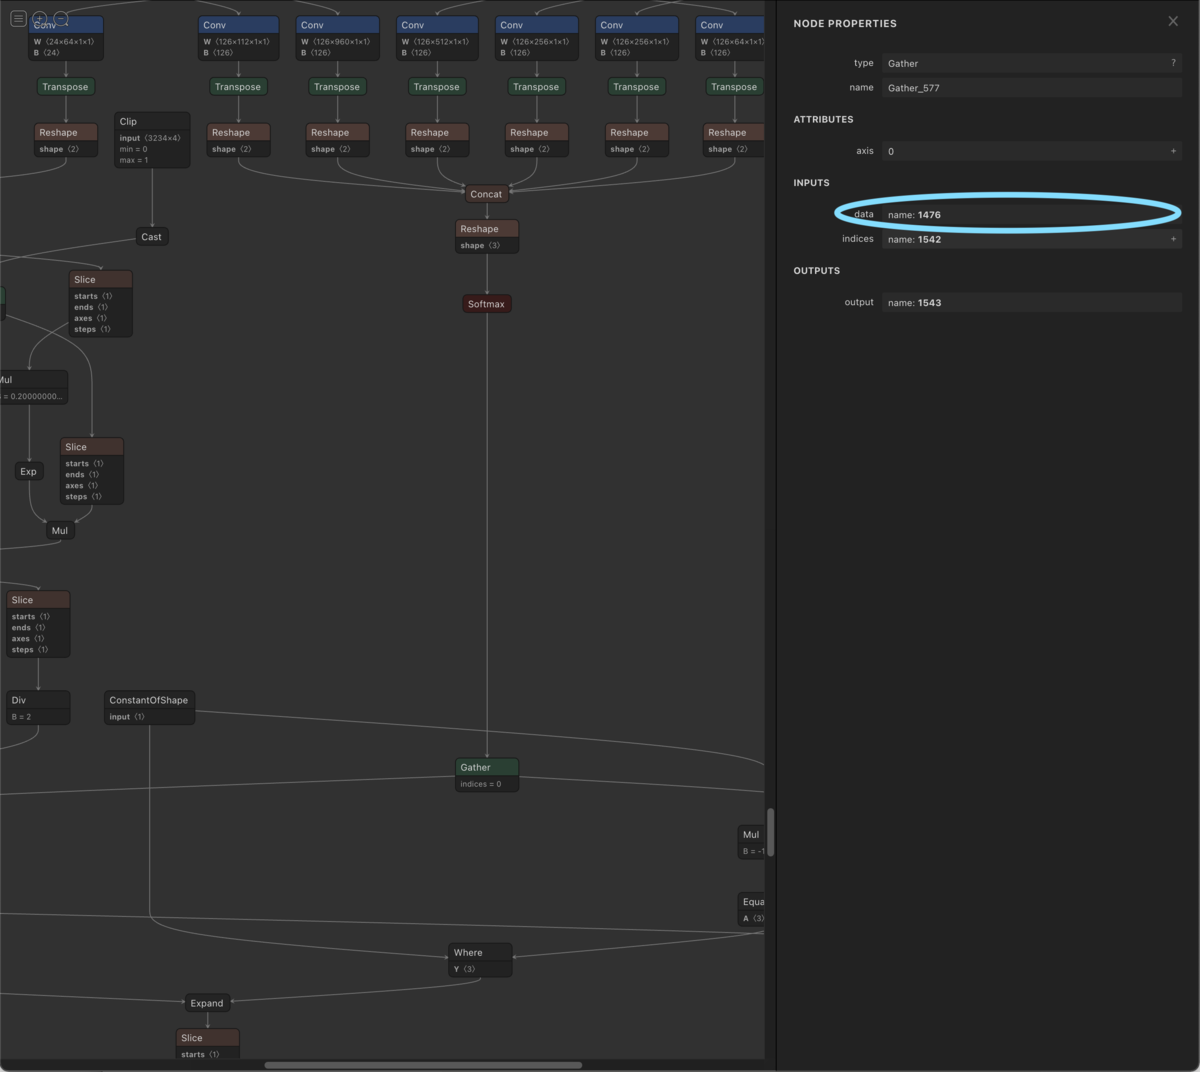
Netron で mobilenet_v3_ssd320_voc0712.onnx を確認した結果 nnoir-onnx の非対応オペレータが含まれることが分かったため、以下の方法で対応します。
- 非対応オペレータが含まれない前半と含まれる後半に ONNX を分割
- 非対応オペレータが含まれない前半を nnoir に変換
- 非対応オペレータが含まれる後半を Python に変換
非対応オペレータが含まれない前半と含まれる後半に ONNX を分割
onnigiri を利用し ONNX を非対応オペレータが含まれる手前と後に分割します。
onnigiri models/mobilenet_v3_ssd320_voc0712.onnx -o models/model_main.onnx --from input --to '1468' '1476'

onnigiri models/mobilenet_v3_ssd320_voc0712.onnx -o models/model_post.onnx --from '1468' '1476' --to 'labels' 'boxes' 'scores'
model_main.onnx と model_post.onnx の二つの ONNX モデルに分けることができます。
非対応オペレータが含まれない前半を nnoir に変換
model_main.onnx は nnoir-onnx を用い nnoir に変換します。
onnx2nnoir -o models/model_main.nnoir \
models/model_main.onnx --graph_name torch_jit_export
非対応オペレータが含まれる後半を Python に変換
model_post.onnx は onnion を用い Python に変換します。 github.com
onnion -o models/model_post.py models/model_post.onnx
Actcast アプリケーションでの推論例
Raspberry Pi 上の numpy の挙動が 64bit システムと異なるため *1 model_post.py に以下を追記します。
class Gather(rt.Gather):
    def run(self, data, indices):
        indices = indices.astype(np.int32)
        return [np.take(data, indices, axis=self.axis)]

rt.Gather = Gather
追記・修正(2021/11/29)
Gather の対応は https://github.com/Idein/onnion/pull/100 で行っているため、model_post.py に Gather Class を記述する必要はありません。
model_main.nnoir を modelディレクトリに置き actdk compile を実行することで model.py が生成されます。関連する Actcast ドキュメントには以下があります。
actcast.io
actcast.io
import model_post

WIDTH = 320
HEIGHT = 320

post = model_post.Graph0()
model = Model()

rgb_image = Image.frombuffer('RGB', self.capture_size, frame.getvalue(), 'raw', 'RGB')
rgb_image = rgb_image.resize((WIDTH, HEIGHT))
input_image = np.asarray(rgb_image).reshape(1, WIDTH, HEIGHT, 3).astype(np.float32).transpose(0, 3, 1, 2)
input = input_image / 256.0
input = np.ascontiguousarray(input)
out0, out1 = model.torch_jit_export(input)
labels, boxes, scores = post.run(out0, out1)